
Learn the Press
The overhead press is one of the best exercises you can do for your shoulders. I have written about why previously but here will go into a little more detail on how to perform the overhead press!
WHY YOU SHOULD PRESS
Tissue capacity. As overhead athletes who do a lot of shoulder intensive work, it’s important for climbers to keep the shoulders strong and resilient by training them frequently. A correctly performed overhead press is one of the most useful strength training exercise for shoulder health in climbers.
Training efficiency. As a general rule the more muscle mass involved in an exercise, the better the exercise. The press produces functional strength in the trunk muscles (aka “core”) as well as the shoulders and arms, including the rotator cuff muscles.
Effectiveness. It also produces force in a more useful direction for climbing than a push-up does. It is exactly measurable and can be progressed much more effectively than a push-up or other shoulder exercises like the popular banded exercises or I’s, T’s, Y’s, and W’s (in increments as little as 1/2 pound if necessary). Because it involves more muscle, more weight can be handled with this exercise. The more weight you can use, the stronger you can get.
Safe. When performed correctly at an appropriate load, the overhead press should not cause pain or discomfort in the shoulders or the back. The surprising thing about the press is that it is very technically demanding. It is a very hard lift to do with a lot of weight and most people work for years to develop their ability to do it well. We’d better get started!
HOW TO OVERHEAD PRESS
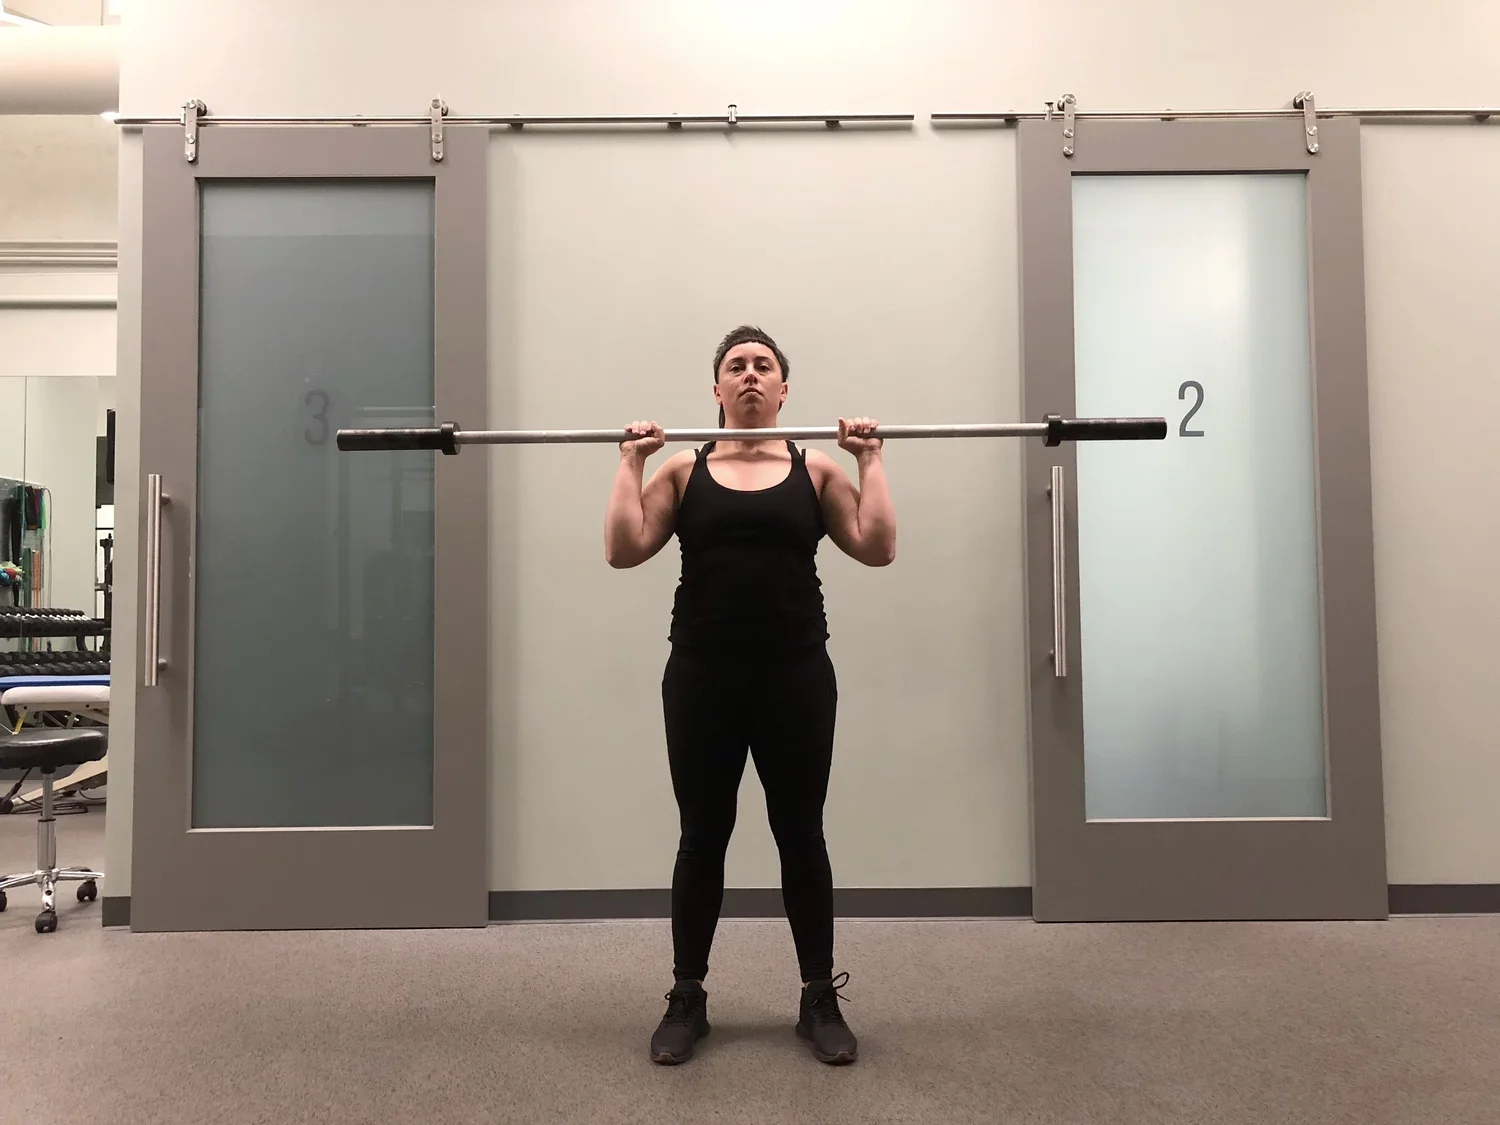
Set up a bar OUTSIDE the rack at mid-chest height. This might seem too low, but don’t worry, it’s not.
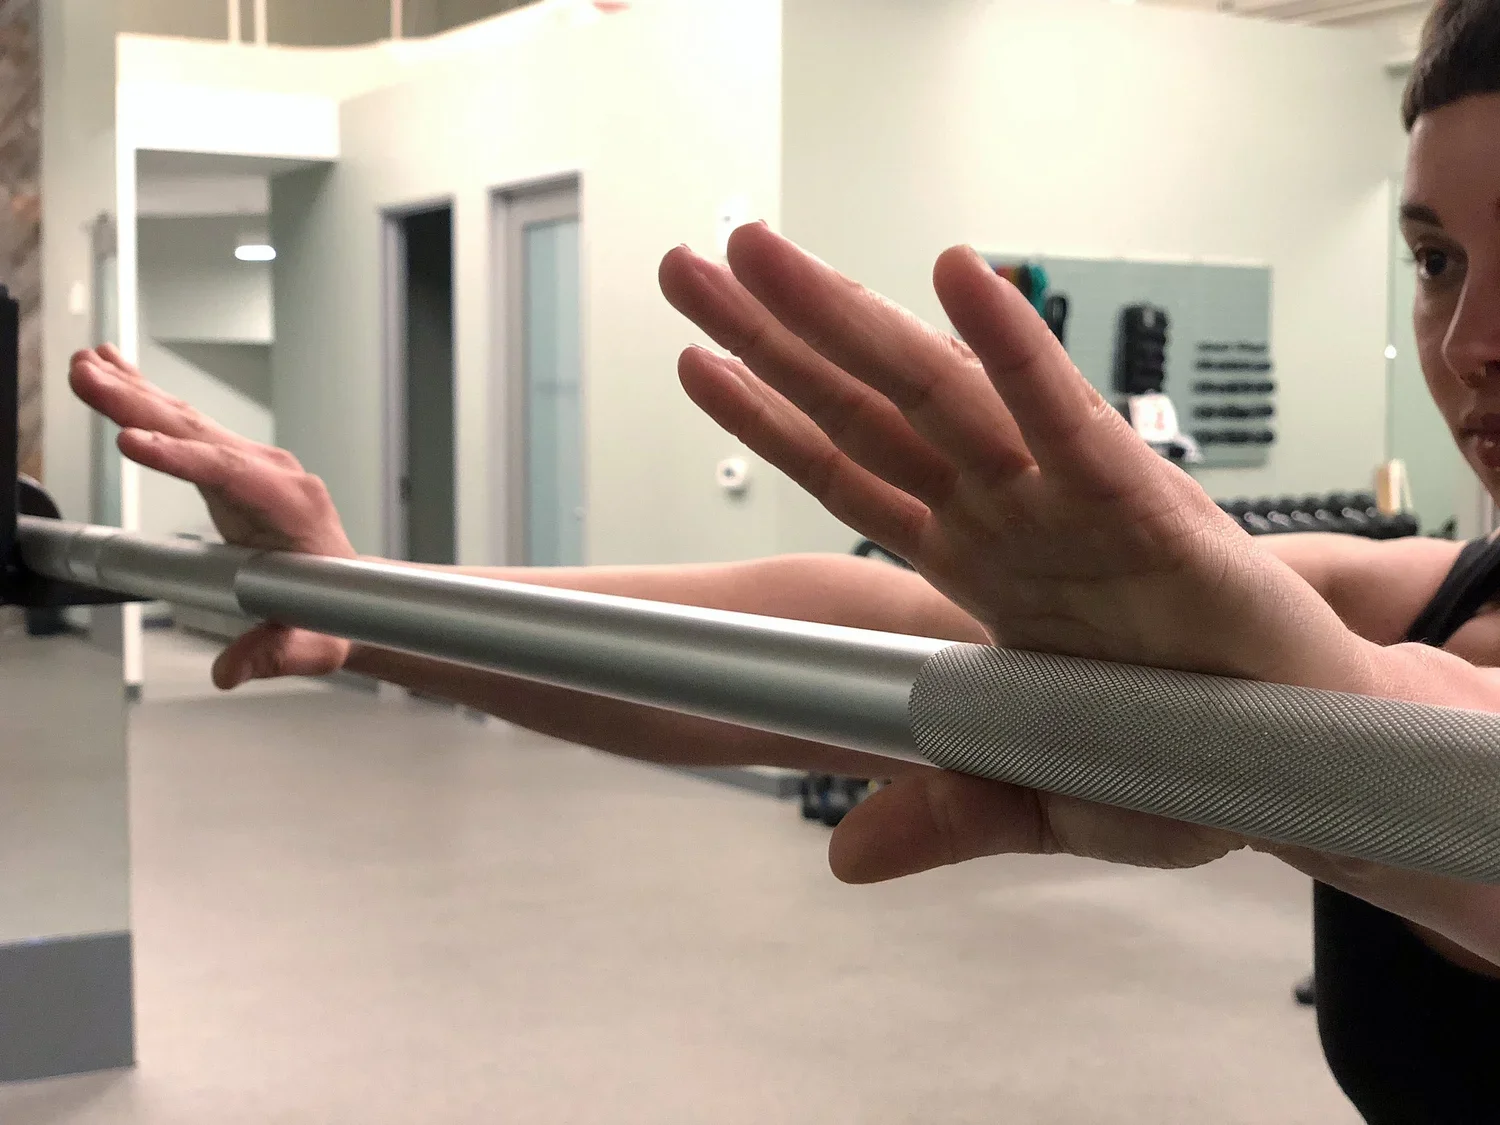
Step 1: Grip
Grab the bar so that it sits in the base of the palms with the thumb wrapped around the bar
Your grip should be just outside of shoulder width
Come in close to the bar and wind your elbows down and in so they end up in a vertical orientation under the bar. You’ll be in a partial squat position here so that you can take the bar out of the rack using your legs instead of your arms.
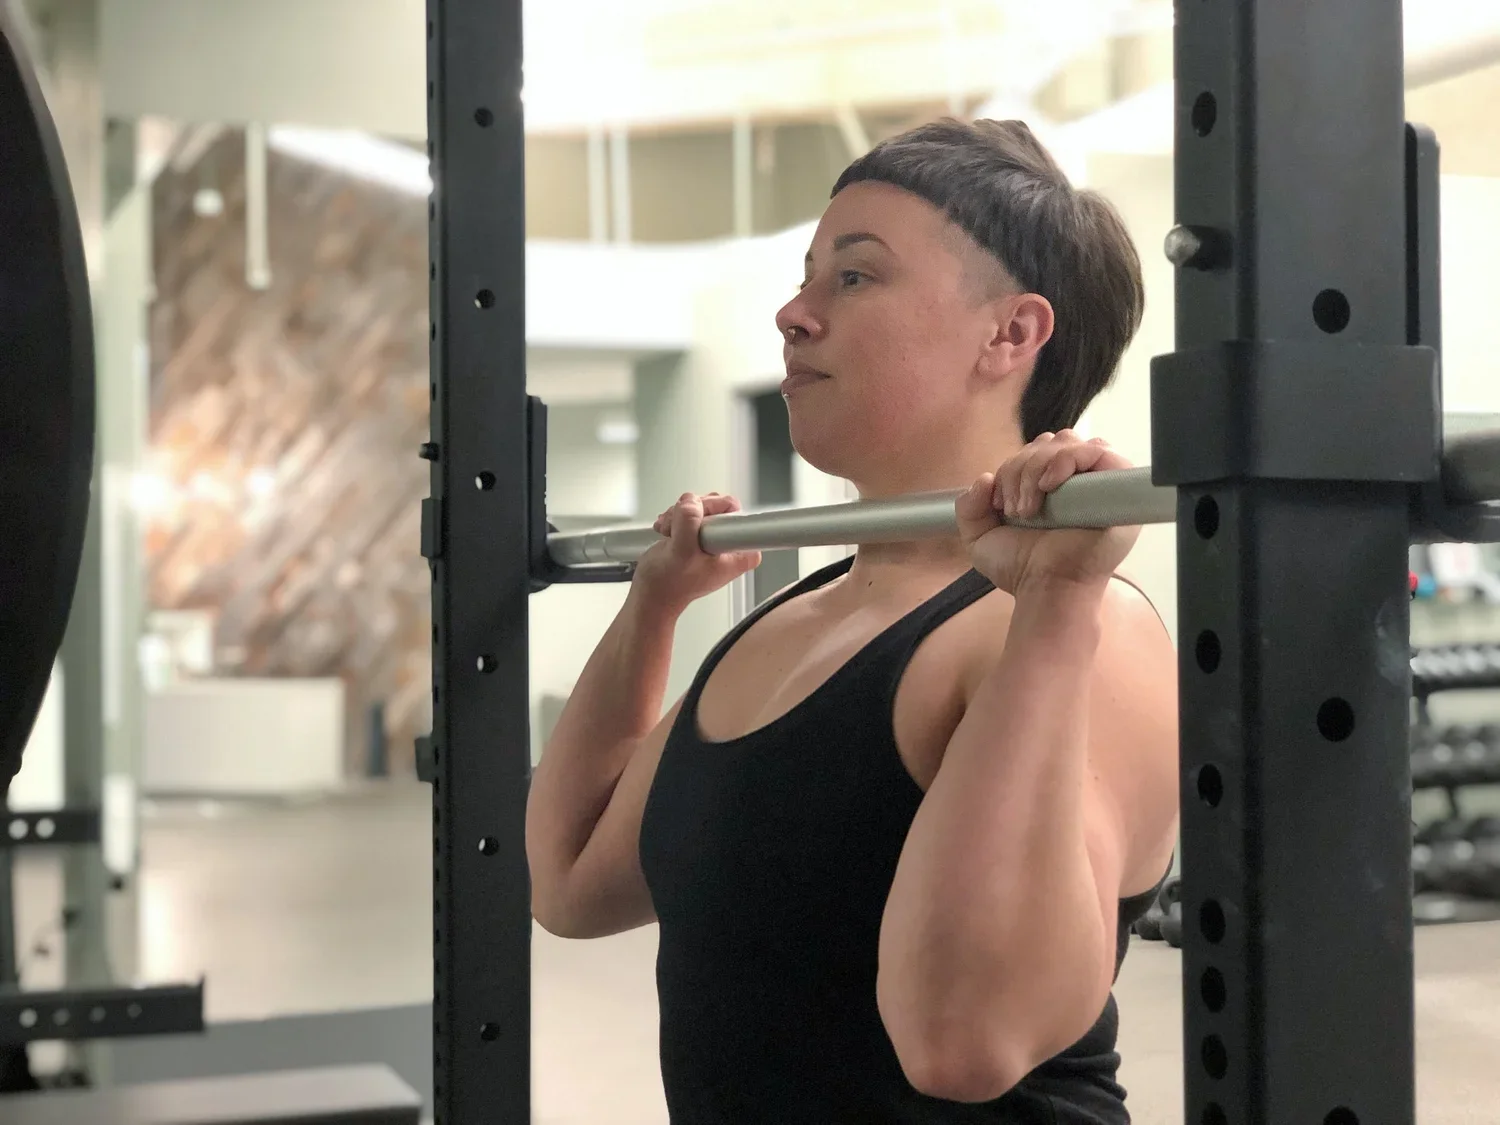
Step 2: Wrists and Elbows
Your wrists should be in a neutral position, NOT cocked back
Your elbow joint should be stacked directly under the bar when viewed from the side. Tips of elbows will be slightly forward of the bar
If your elbows drop behind the bar, your press will be much less efficient. The correct position feels over exaggerated to most people and you may feel a stretch in the front of your shoulders and chest. That’s the right position!
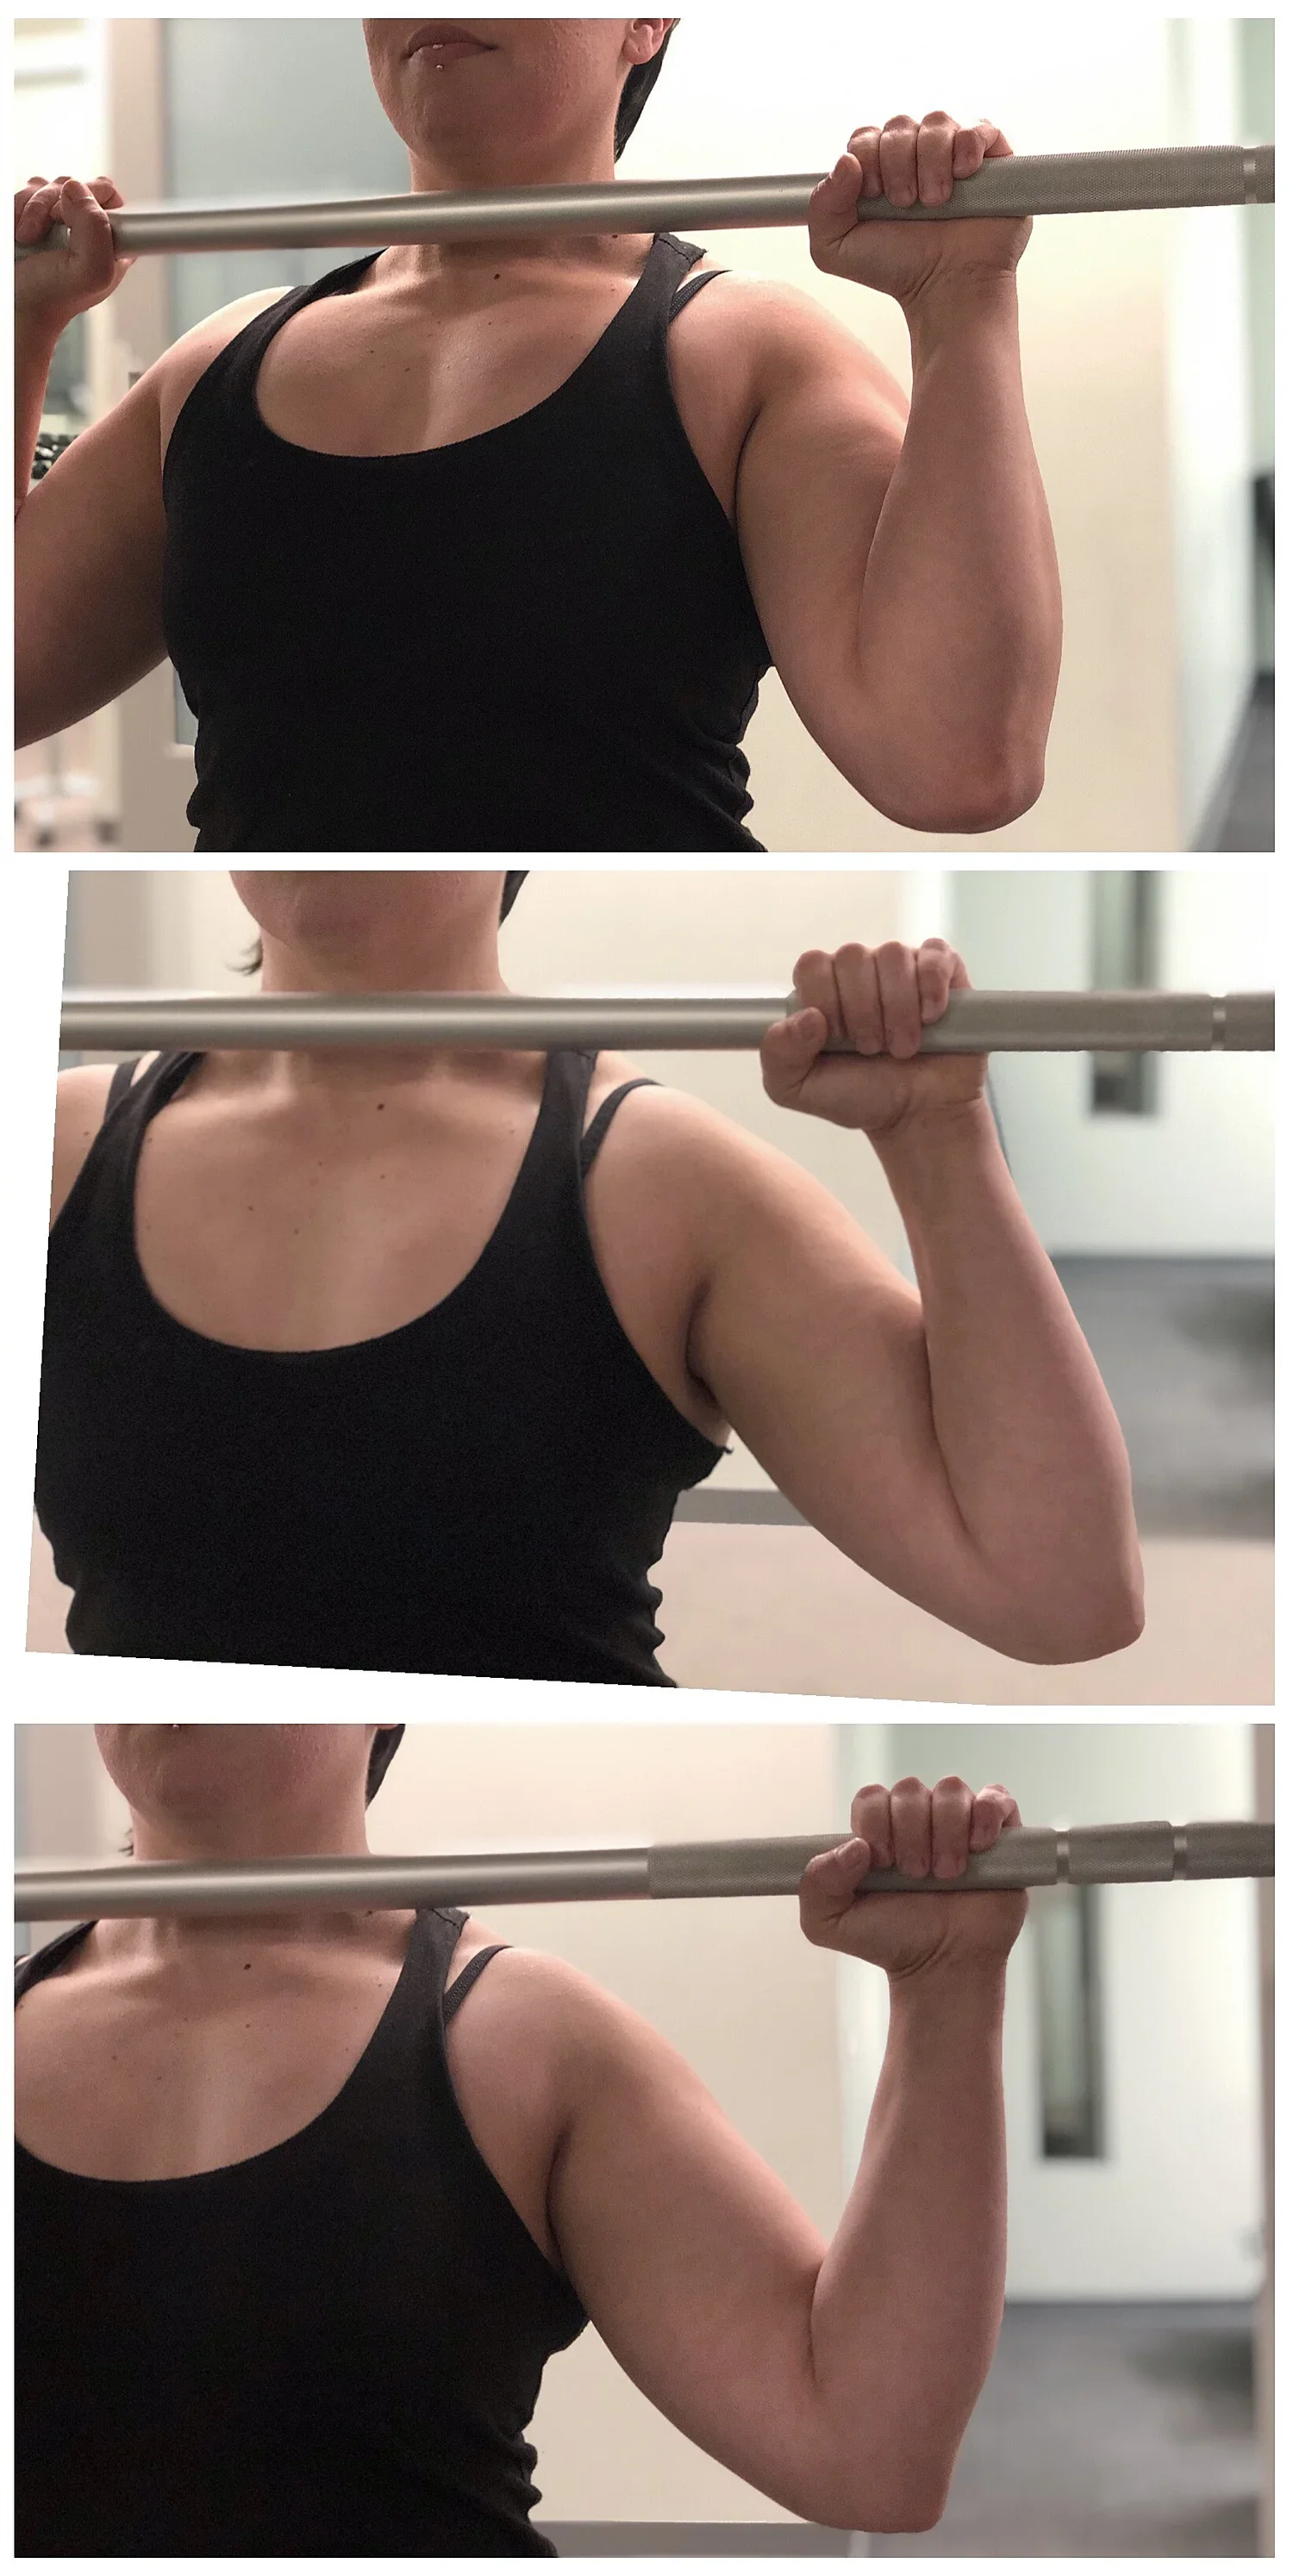
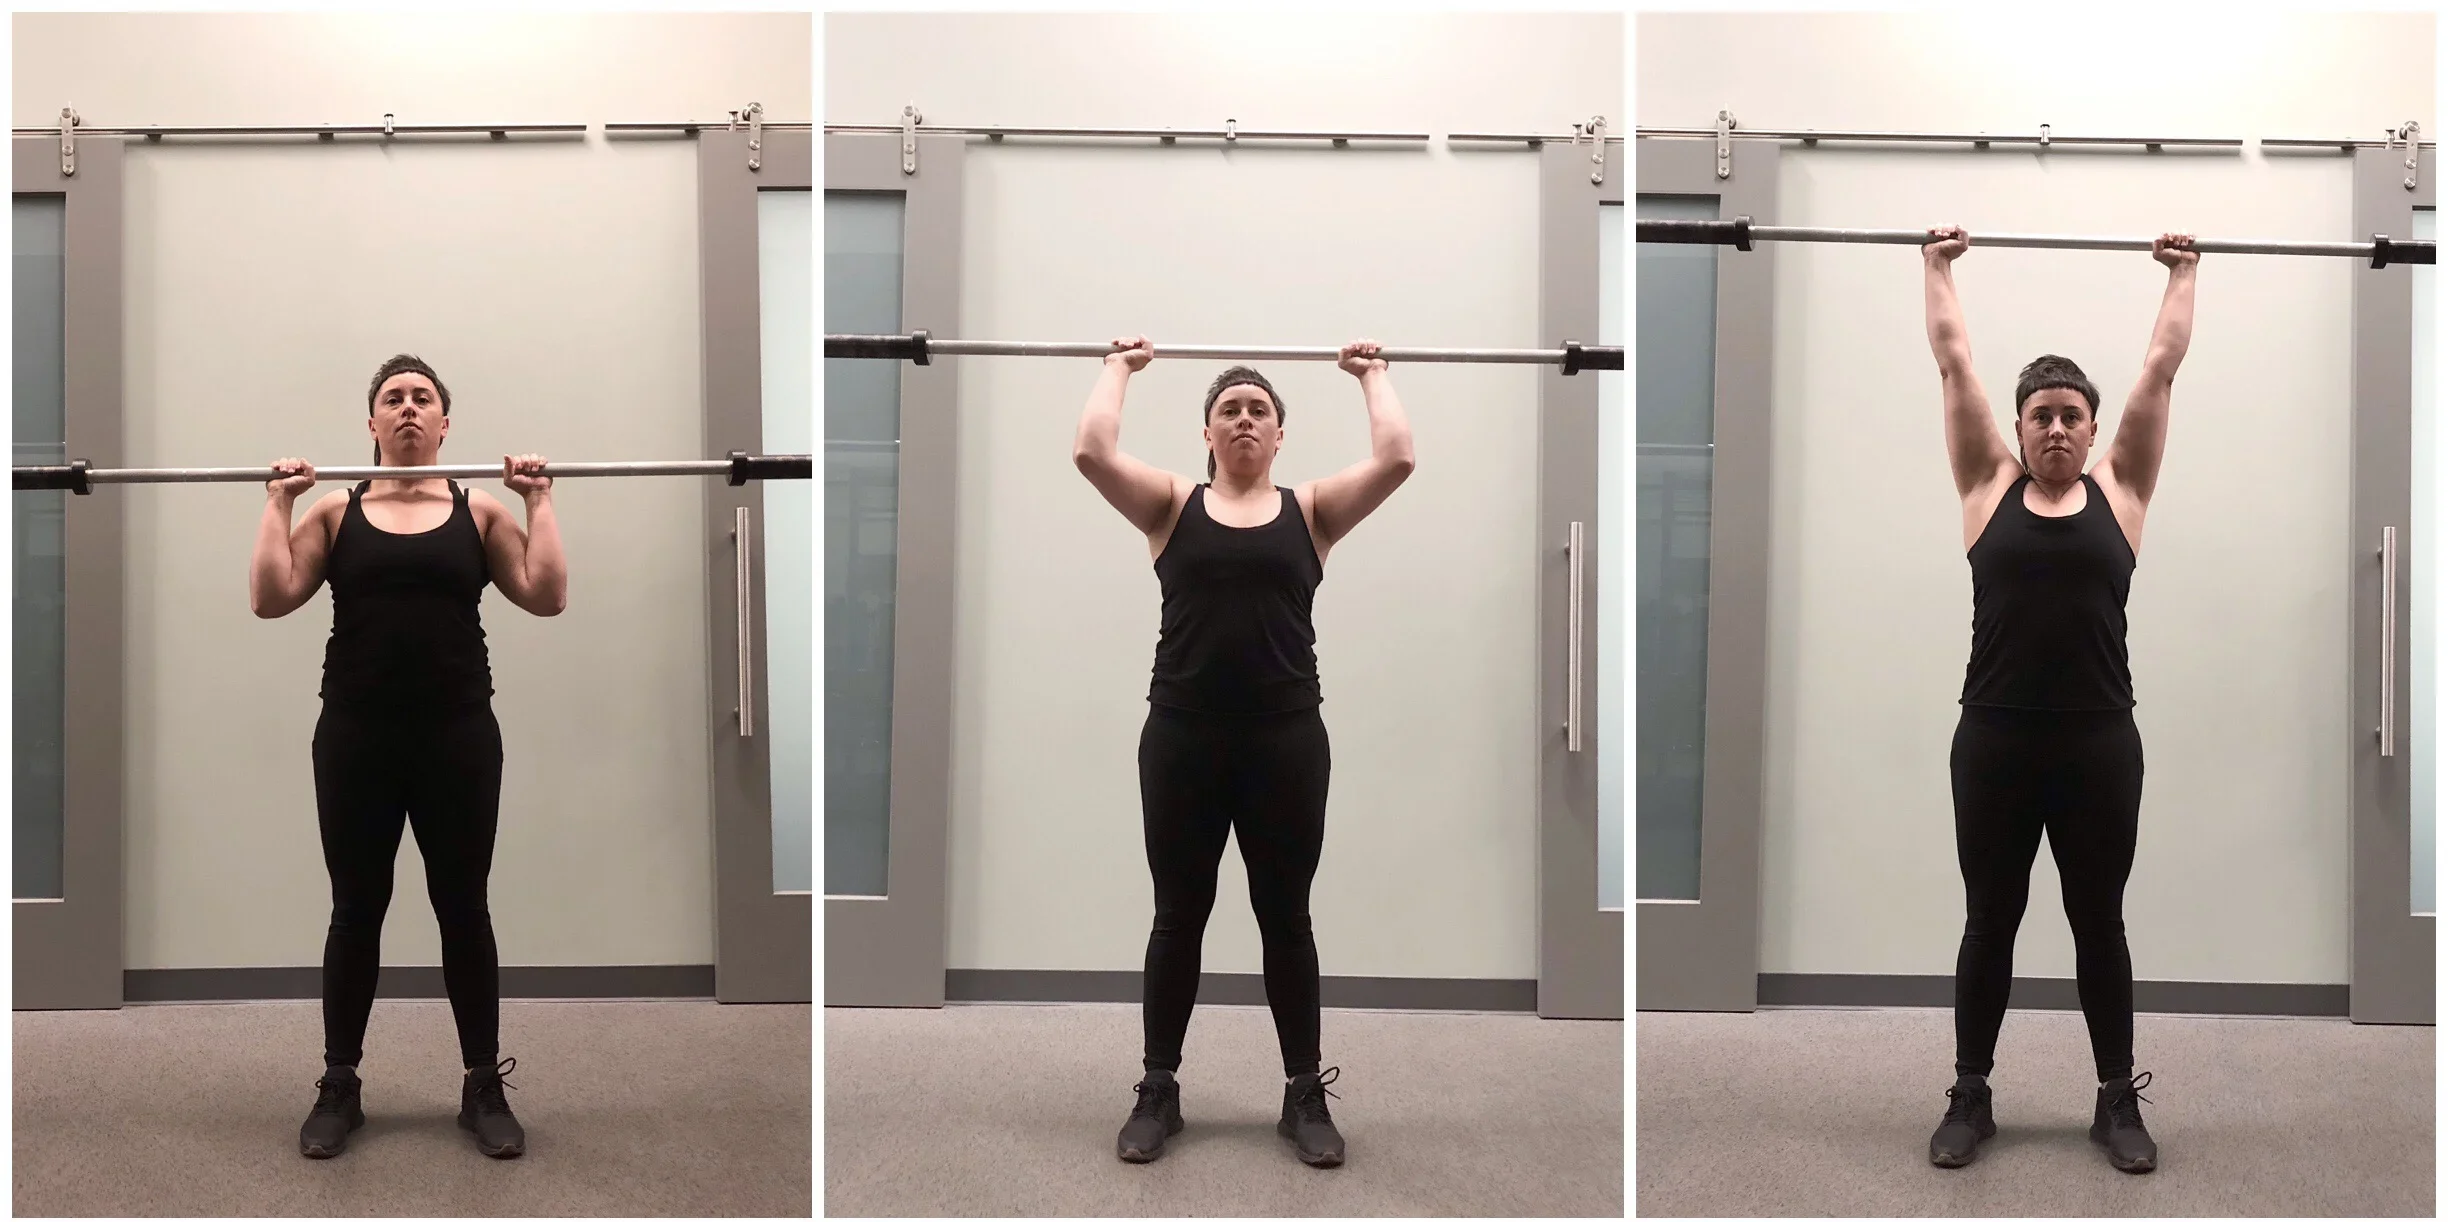
Top: This is the CORRECT POSITION, Middle: INCORRECT- elbow flared out too much, Bottom: INCORRECT- grip too wide.
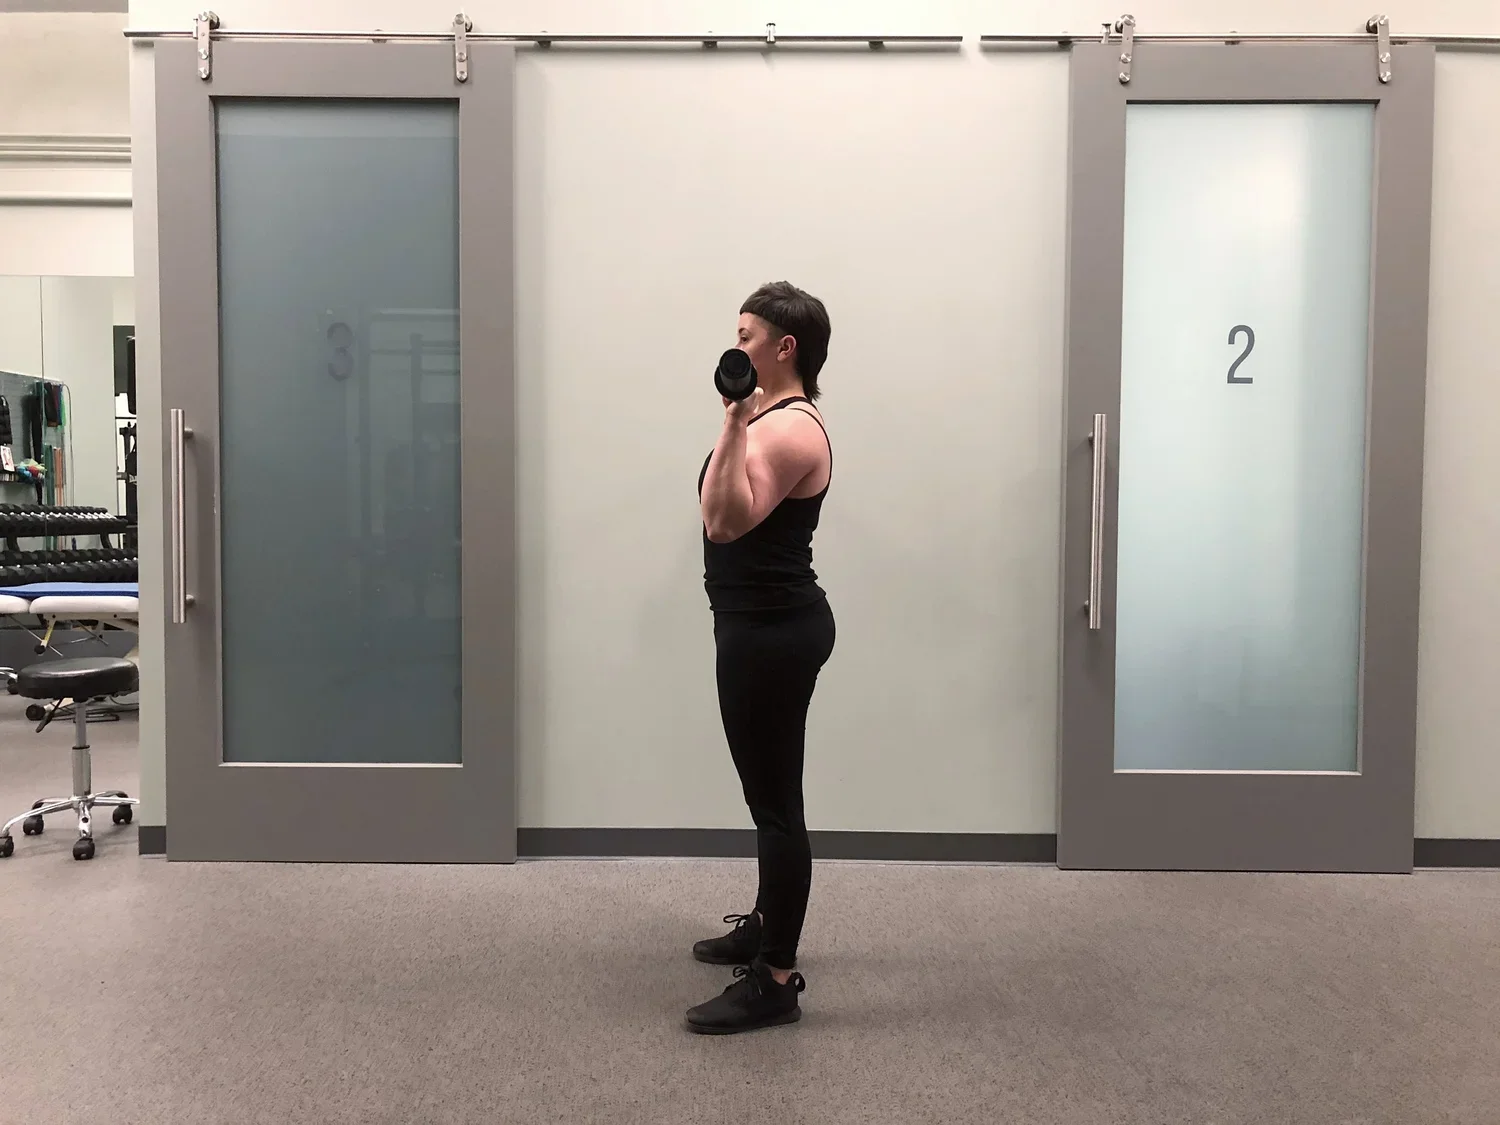
CORRECT. Bar stacked over wrist and over the middle of the elbow joint when viewed from the side.
INCORRECT. Elbows too far behind the bar.
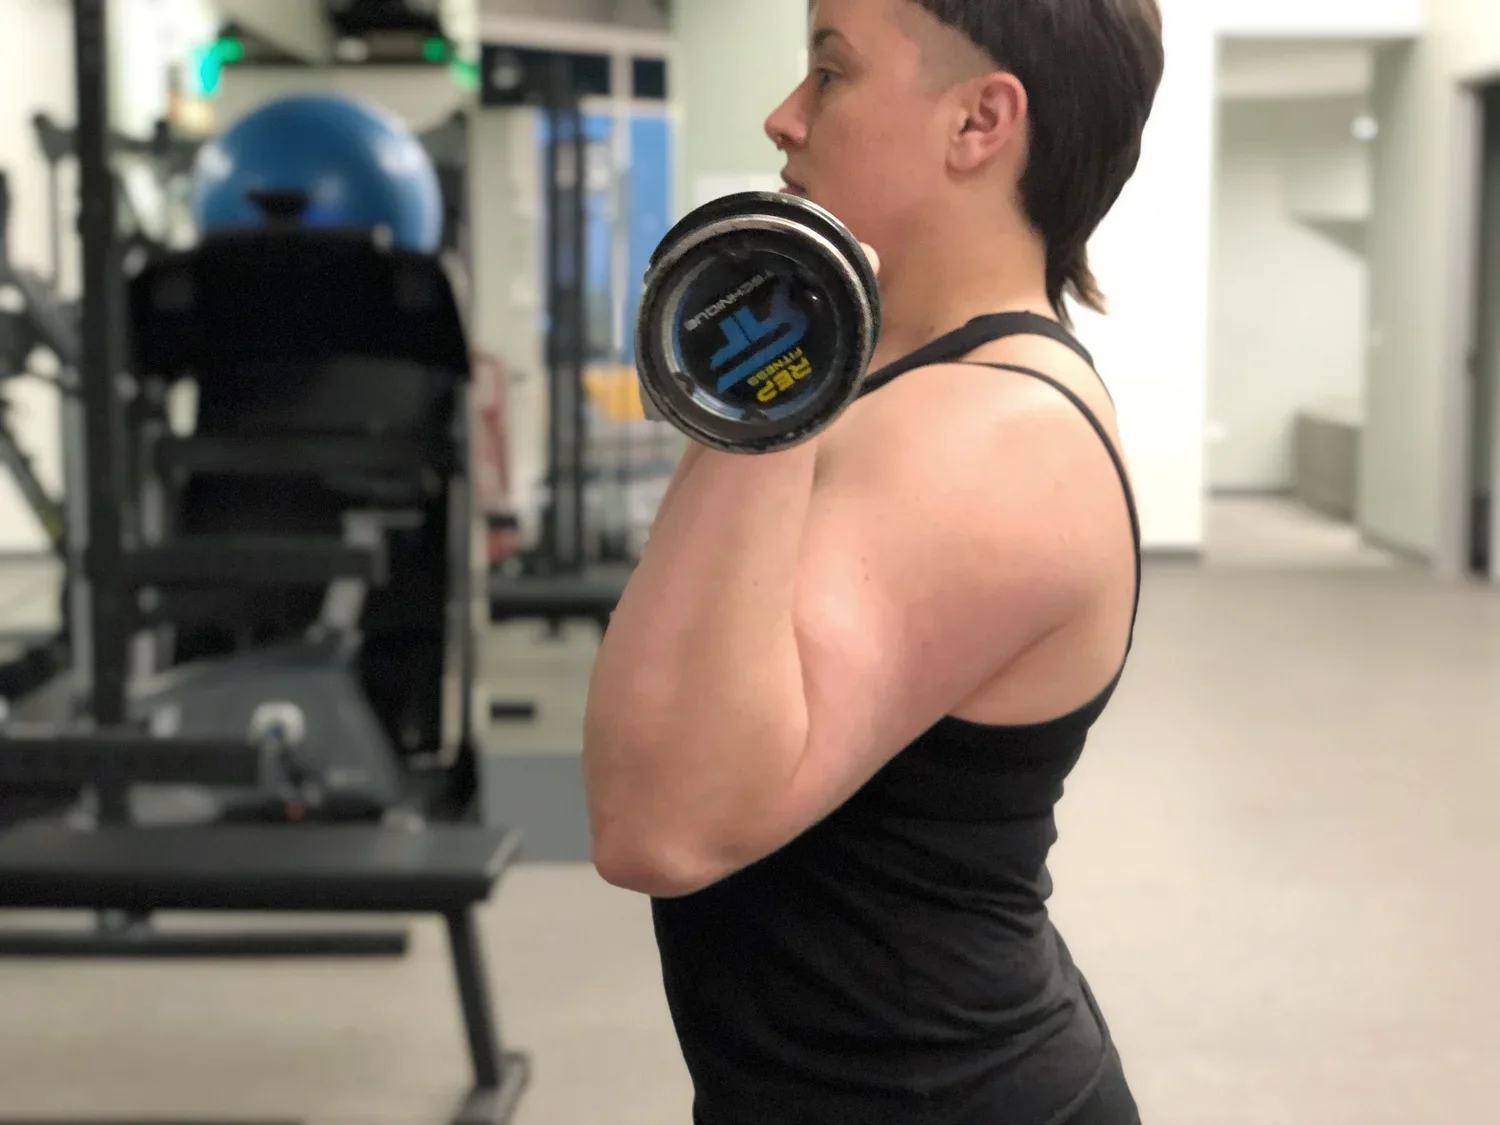
Step 3: Unrack
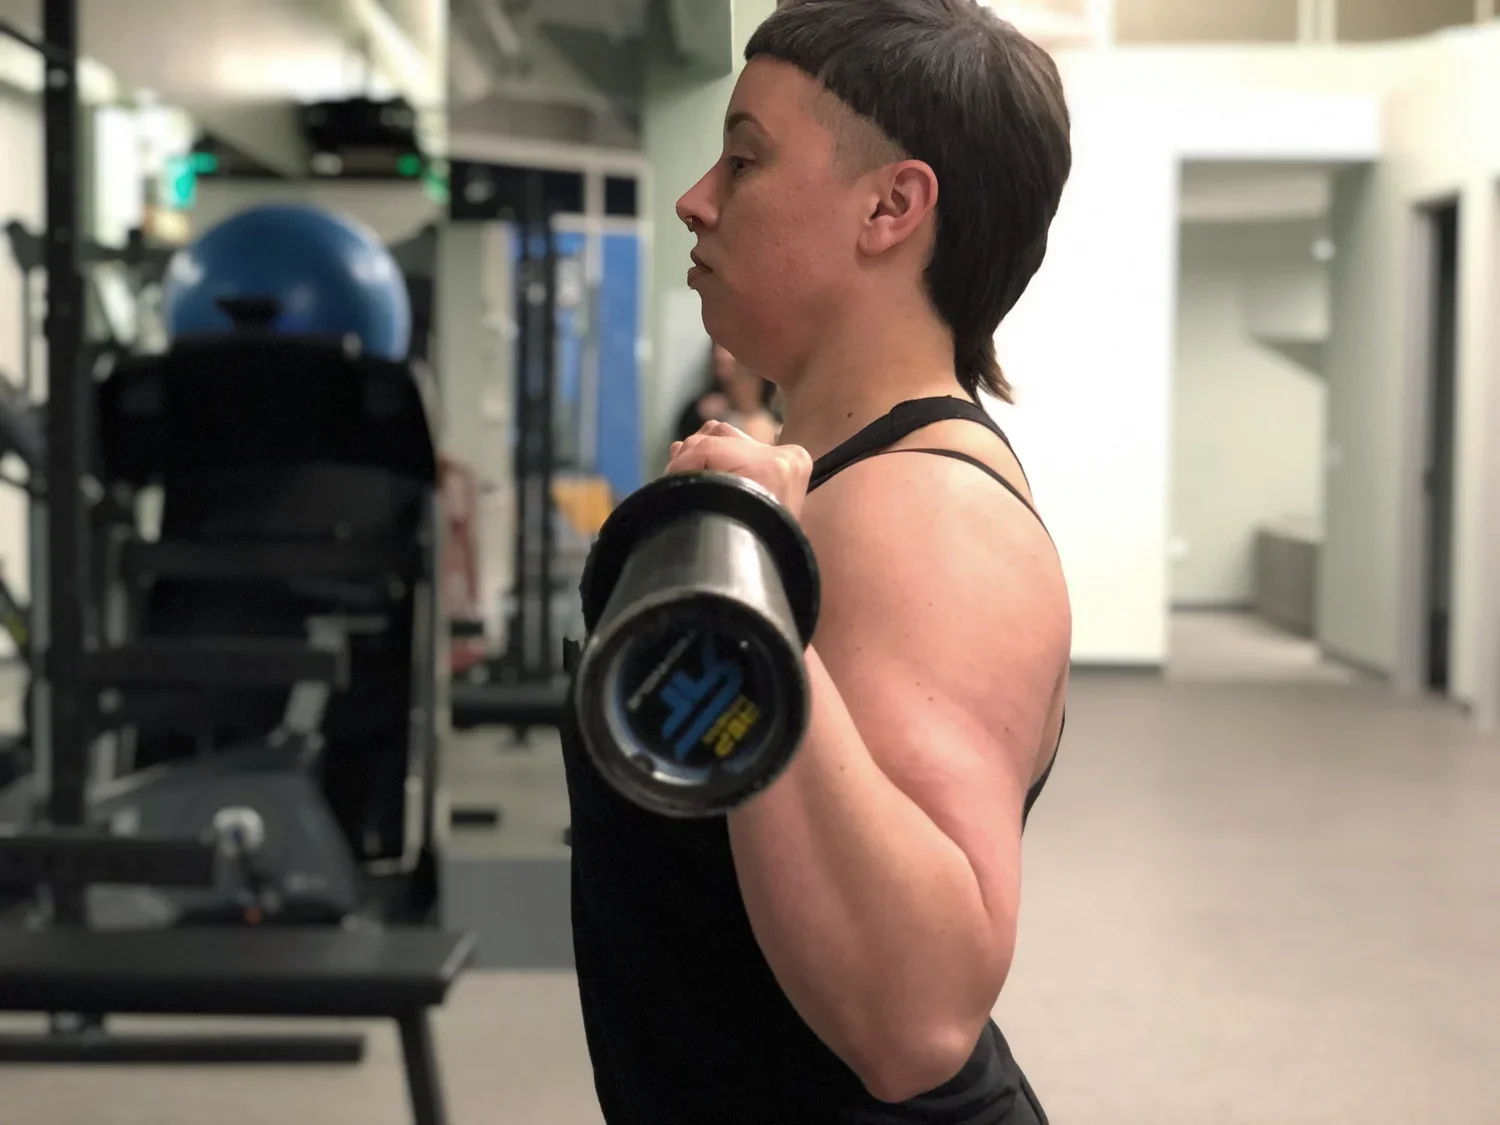
Squeeze your chest UP! The bar should NOT be resting on your shoulders unless you have very short arms. More commonly, it’s going to be floating just in front of your throat and under the chin OFF your chest/shoulders
Unrack the bar using your legs like a squat!
Take two small steps back away from the rack without losing position. Make sure your knees and hips are locked straight
Your stance should be about shoulder width apart
Notice my knees are NOT bent, my elbows are stacked under the bar with my wrists neutral and the bar is not resting on my chest or shoulders.
Hip width stance, straight legs, forearm in a vertical orientation directly under the bar, elbows NOT winged out.
Step 4: Breath and Brace
Take a big breath and brace your abs hard
HOLD your breath for the entire rep or for multiple reps if you can
The top position is a slight resting position so if you need to take another breath during the set you’ll do it there before lowering the bar for the next rep
Step 5: Press
Press the bar up and BACK in a slightly horizontal line to get it over the shoulder joint as soon as possible
Shrug up at the top and lockout elbows completely. The bar should end up directly over the shoulder joint and in line with the spine when viewed from the side
Lower the bar down close to your face and back to start position just under the chin
Notice the fully locked out shoulders at the top. Straight elbows and a slight shoulder shrug and neutral wrists.
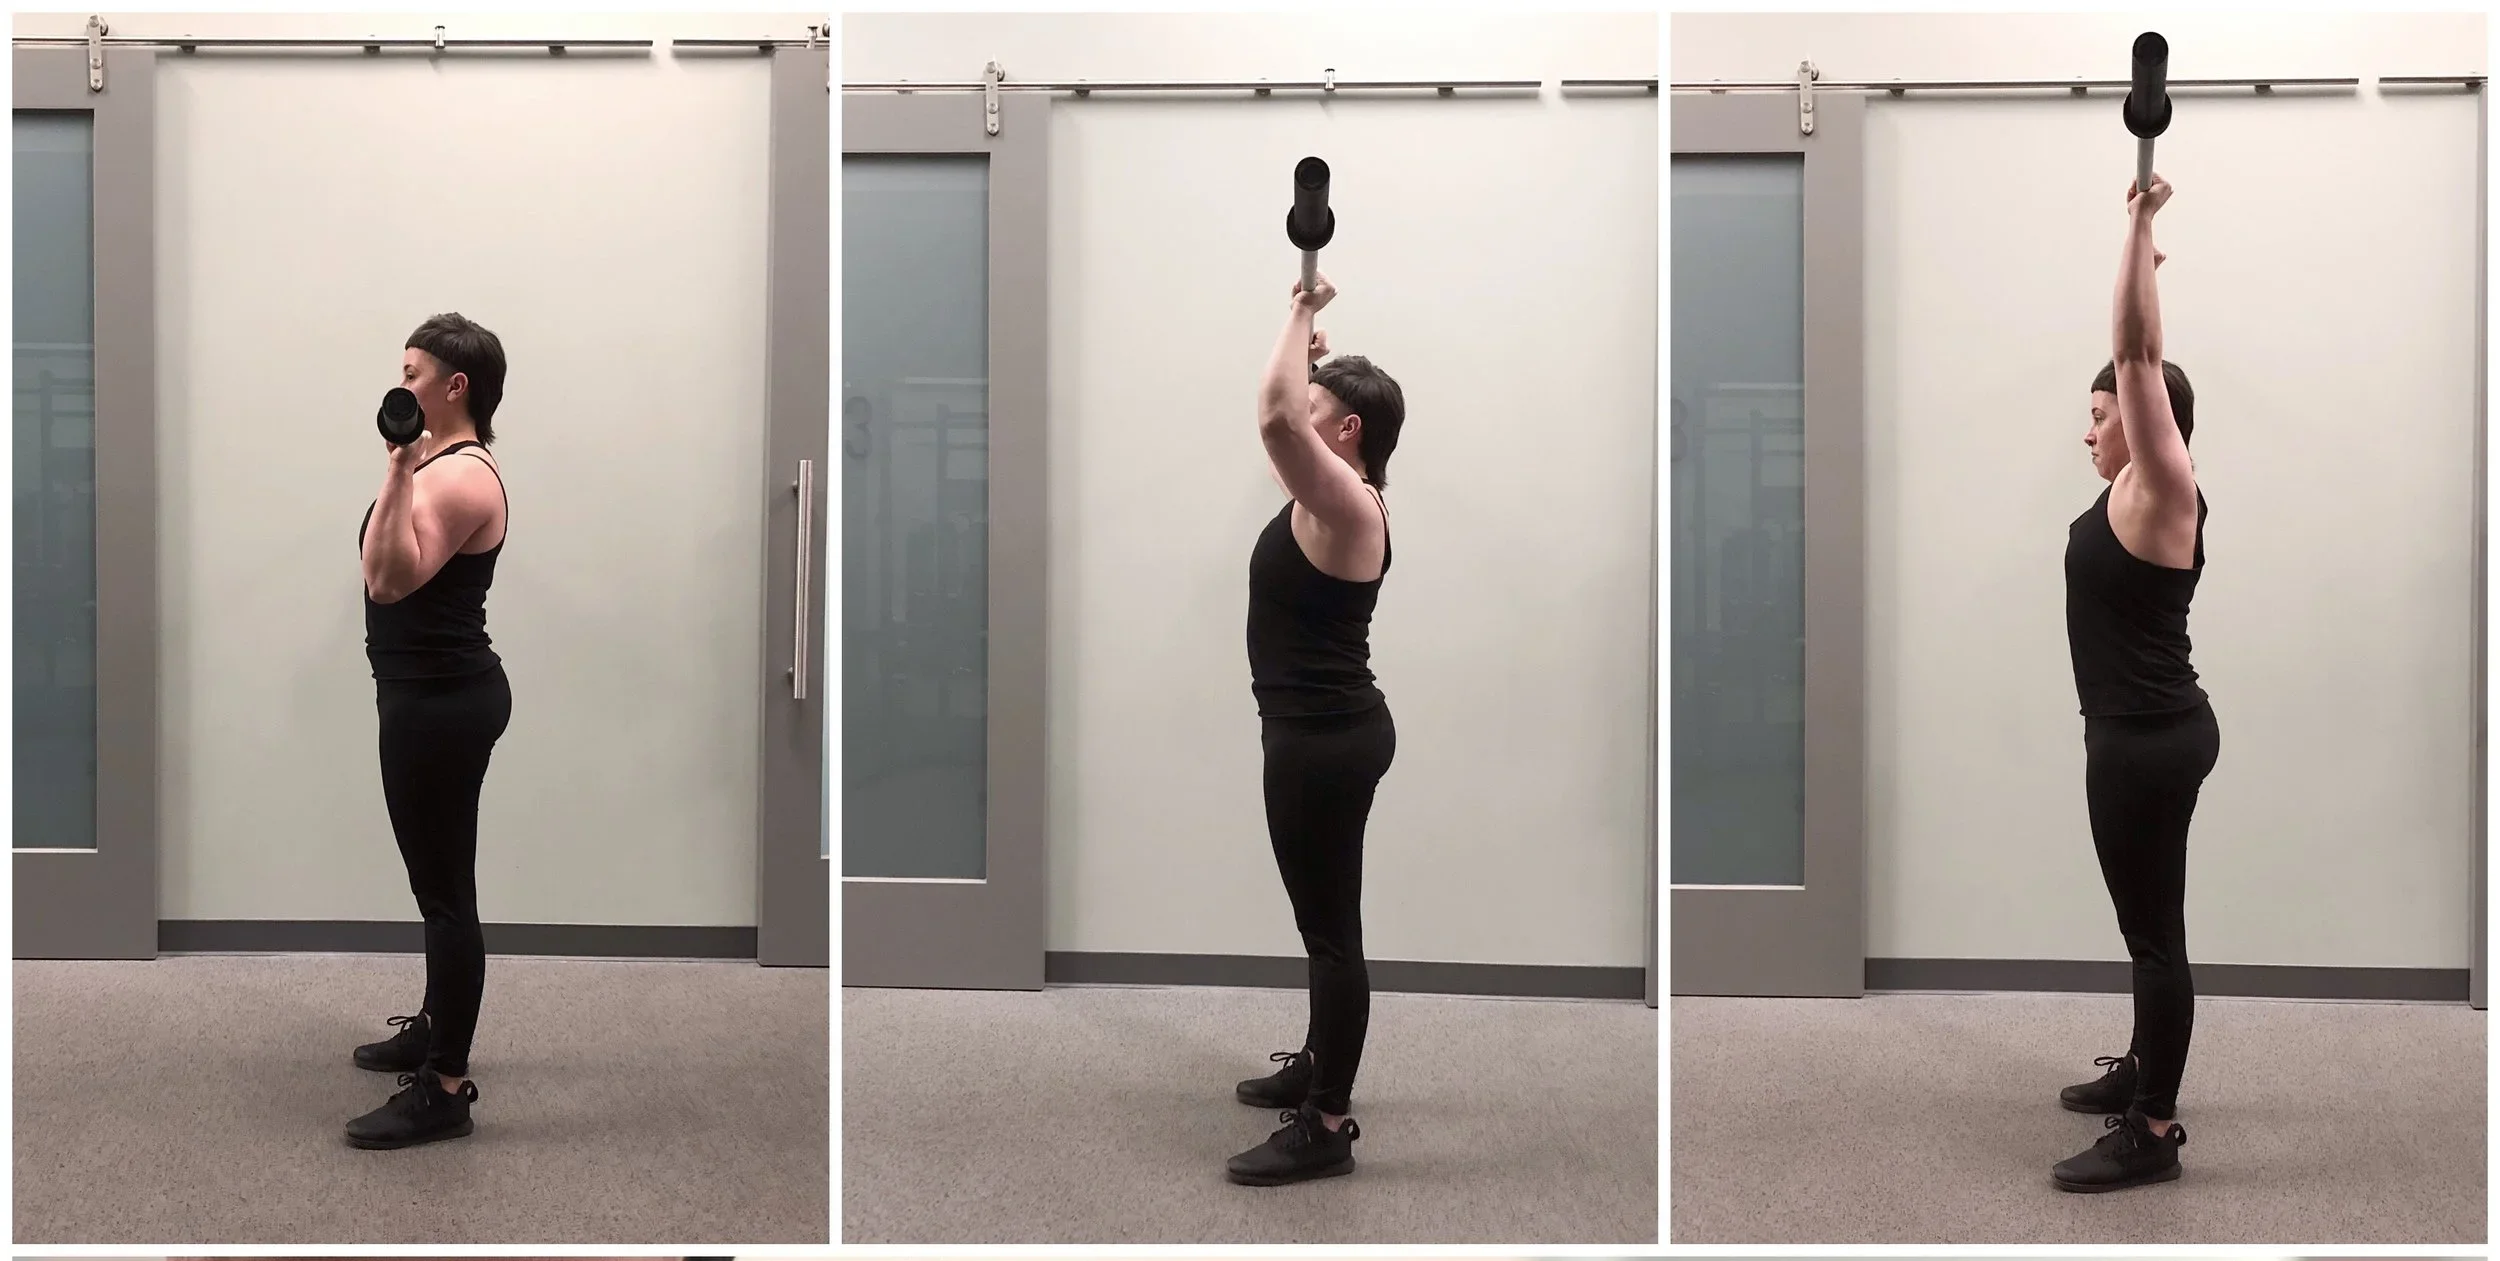
Notice I did not press the bar AWAY from me. The bar stays over my mid foot the whole time and goes up in a straight line not an arc.
SOME ADDITIONAL TIPS
Make sure that your elbows don’t wing out during the press.
Some layback is acceptable as long as you keep your abs braced tight.
KEEP YOUR WRISTS NEUTRAL!
Don’t lower the bar all the way to your chest on the way down. Stop just under your chin unless you have very short arms and the bar naturally rests on your shoulders during the setup (uncommon for most climbers)
DON’T PRESS THE BAR AWAY FROM YOU!
Those are the basics for the overhead press. It’s one of my staples for climbers and overhead athletes.
As I mentioned, the press is a technical lift so start light and get the technique down. It gets heavy very quickly once you start adding weight so don’t be in a hurry on this lift. It takes a while for most people to get it right.
EQUIPMENT
Fractional weights and a 15# Technique Bar (available at all Touchstone Gyms in the Bay Area, yay!) can come in handy for progressing this lift, especially for smaller people. Rogue Fitness even has a bar as light as a 5# those who may need that.
Most people I have worked who have trouble with the standard 45# bar with do just fine with the 15# bar. I have not had to go any lighter than that.
Feel free to email any questions you may have about the press or tag me on social media (@natashabarnes) with a video of you doing the press and I will give you some feedback!